


The Complete Guide to Riding Transitions on Your Horse
The difference between good transitions and transitions that need work is like the difference between driving a sports car and riding a city bus. They’ll both get you where you want to go, but one experience is smooth, powerful, and responsive. The other is bumpy, fumbling, and slow. Riding good transitions is critical if you […]
The difference between good transitions and transitions that need work is like the difference between driving a sports car and riding a city bus. They’ll both get you where you want to go, but one experience is smooth, powerful, and responsive. The other is bumpy, fumbling, and slow.
Riding good transitions is critical if you want to show, especially in disciplines like hunt seat or dressage, but everyone from Grand Prix hopefuls to recreational riders will get tremendous benefit from learning to ride transitions well.
In this article, we’ll cover just about every transition you’ll need to know, plus take a look at some common faults when riding transitions, and how to fix them. But first – why do transitions matter, anyway?
What are Transitions?
Transitions are, basically, changes. Any time a horse changes – whether it’s from standing still to a walk, trotting to cantering, or galloping to a walk – it’s a transition.
There are two basic types of transition – upward and downward. Upward transitions involve moving “up” a speed – like from walk to trot. Upward transitions can skip a gait altogether, like a walk-to-canter transition. Downward transitions are the opposite – you’ll move “down” a speed, like from trot to walk. You can also skip gaits in downward transitions too, like from a canter to walk.
Transitions also occur within gaits. Moving from a free walk to a working walk, or a collected to extended trot, for example, are all examples of transitions within gaits.
As important as transitions are, they are sadly often neglected or dismissed as being “boring” or basic. Ask any experienced trainer and they’ll tell you how important transitions are for building a balanced and responsive equine athlete.
Why Practice Riding Transitions?
Transitions are important for several reasons. Not only will they help you master speed, collection, extension, and a greater “feel” for the horse’s balance and pace, they also have a ton of benefits for the horse, too.
Practicing transitions can improve a horse’s responsiveness, meaning faster response times and fewer leg aids for you. Practicing transitions can encourage your horse to pay attention to you, rather than plodding along absent-mindedly (or worse, making decisions for the both of you!).
Properly executed, transitions will also improve your horse’s suppleness, balance, and collection, which will increase his level of fitness and make his job easier. They’re also good for a horse’s mental health, too – practicing transitions and helping him understand very clearly what exactly you want means less confusion and stress for the horse.
Transitions are also a great way to develop a better relationship with the horse under saddle, and are absolutely something you’ll want to practice on a new horse ASAP! If you’re taking lessons on a new school horse, ask for a few transitions during the warmup to get a better sense for how responsive he is, and how much pressure it takes to get him to respond.
If you plan to do just about any type of showing ever, you’ll need to do transitions well. But more importantly, even if you never set foot in a show ring, good transitions make for a smooth, comfortable ride for both horse and rider.

Now that we know what transitions are and why they matter, let’s jump into actually doing them.
How to Do an Upward Transition
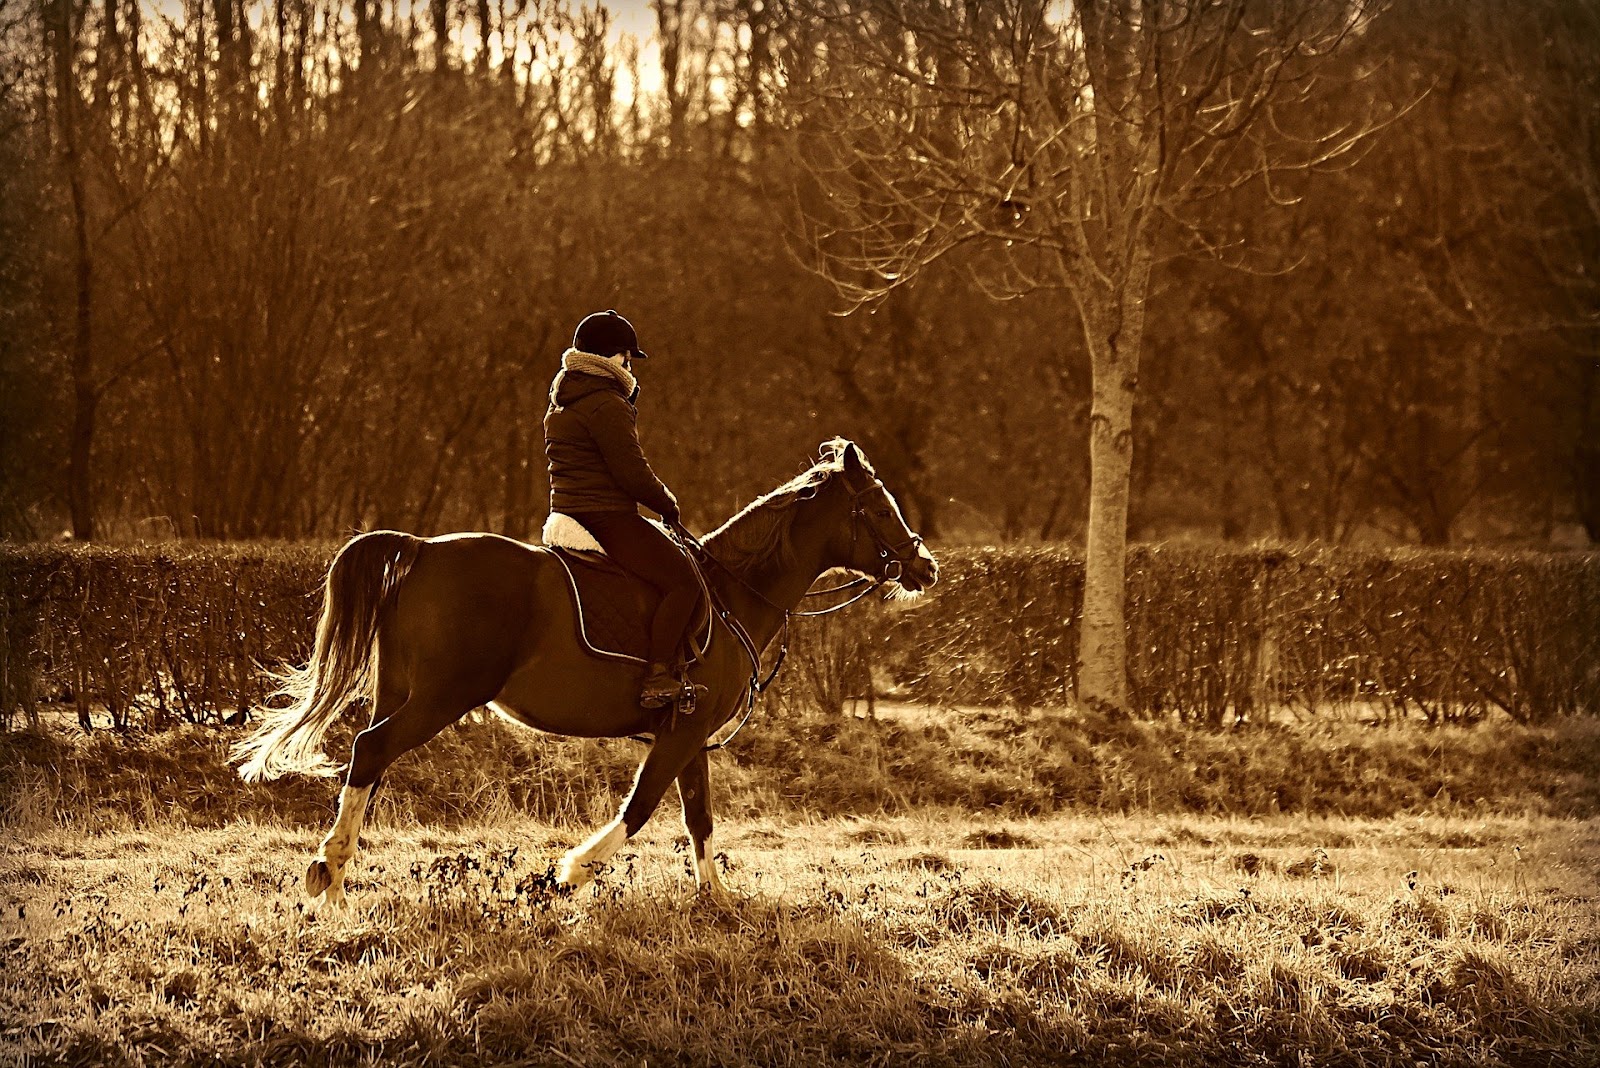
Upward transitions are whenever a horse moves into a faster gait. The horse moves forward more freely, while engaging his hindquarters under his body to propel more forward movement.
A good upward transition should feel like it’s being “pushed” from the horse’s hindquarters, instead of “pulled” from the front.
Halt / Walk
Everyone’s very first transition! Starting from a square but attentive halt, the rider’s legs are positioned evenly at the girth, seatbones even, and eyes looking up.
When you’re ready to move, increase weight in both seat bones, squeeze evenly with both legs and allow the horse to move forward by softening the reins. Allow your pelvis to follow the forward and side-to-side movement of the horse.
Halt / Trot
First, start with a good, proper halt with all 4 feet squarely on the ground. Avoid a lazy “rolling halt” that breaks into an upward gait before you actually ask for it.
To ask for the trot, use an immediate, firm squeeze, possibly backed up by a voice aid or heel if necessary. Open your hands to encourage forward movement, and either post or follow the pelvic movement of a trot to encourage him to step into a 2-beat pace.
Halt / Canter
This can be a great training exercise to work on responsiveness, as well as being a lot of fun to ride. You may need to use a voice aid or allow for a few steps of the walk for a novice horse who isn’t accustomed to this transition.
From a halt, give with your reins and bring your outside leg back while pushing off from the inside seat bone. Imagine squeezing the horse “up” and into the canter, exactly the same way you would for any other upwards canter transition.
Walk / Trot
Sluggish upward walk transitions usually start from an inactive, inattentive walk, so start with a quality, active walk with the horse responding to your leg and picking up the pace when asked.
Keep your legs even at the girth. When ready to trot, squeeze both legs. Use as little leg pressure as necessary, but enough to get a response. Increase weight in both seat bones, and encourage the horse to move forward by softening the reins. Give the horse a stride or two to collect and balance himself before you start posting.
Walk / Canter
Start with an energized, forward walk. Slide your outside leg back a few inches behind the girth and squeeze with the outside leg and inside seat bone. The inside leg can support the transition by squeezing up and into the canter while maintaining strong rein contact – you want a deliberate canter, not a rushed walk/trot/canter transition.
To start off on the correct lead, wait until the hind outside leg is juuust being lifted into the air before asking for the canter. To help remember this from the saddle, check to see the outside shoulder coming back towards you as you ask (similar to how you would check your diagonal in trot).
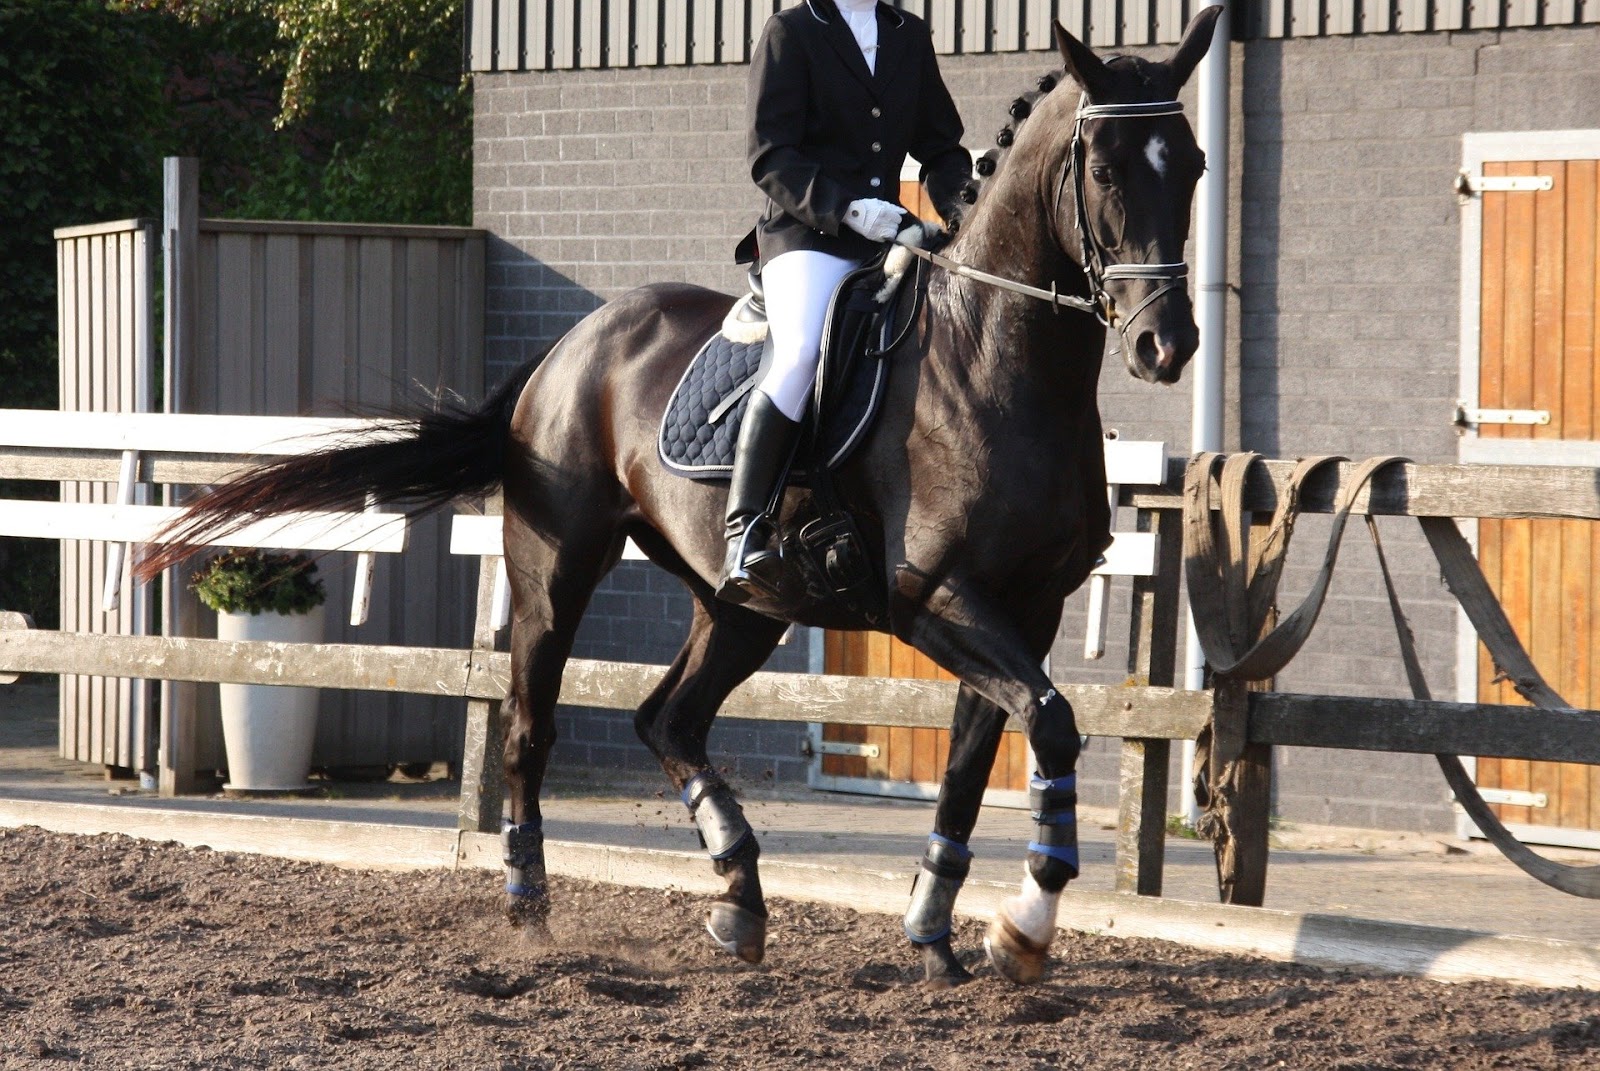
Trot / Canter
Like any transition, set the horse up well before asking for the gait change. A forward trot makes for an easier canter transition than a slow, behind-the-leg trot. Keep the inside leg strong and encouraging at the girth, and position the outside leg just behind the girth, increasing the weight on the inside seat bone without leaning forward as you squeeze to ask for canter.
To take off on the correct canter diagonal, ask for the transition in time with the horse’s trot, just as the outside hind leg is leaving the ground. The inside rein can move slightly to the inside, while half halting on the outside rein so the outside hind leg becomes the first leg of the canter stride.
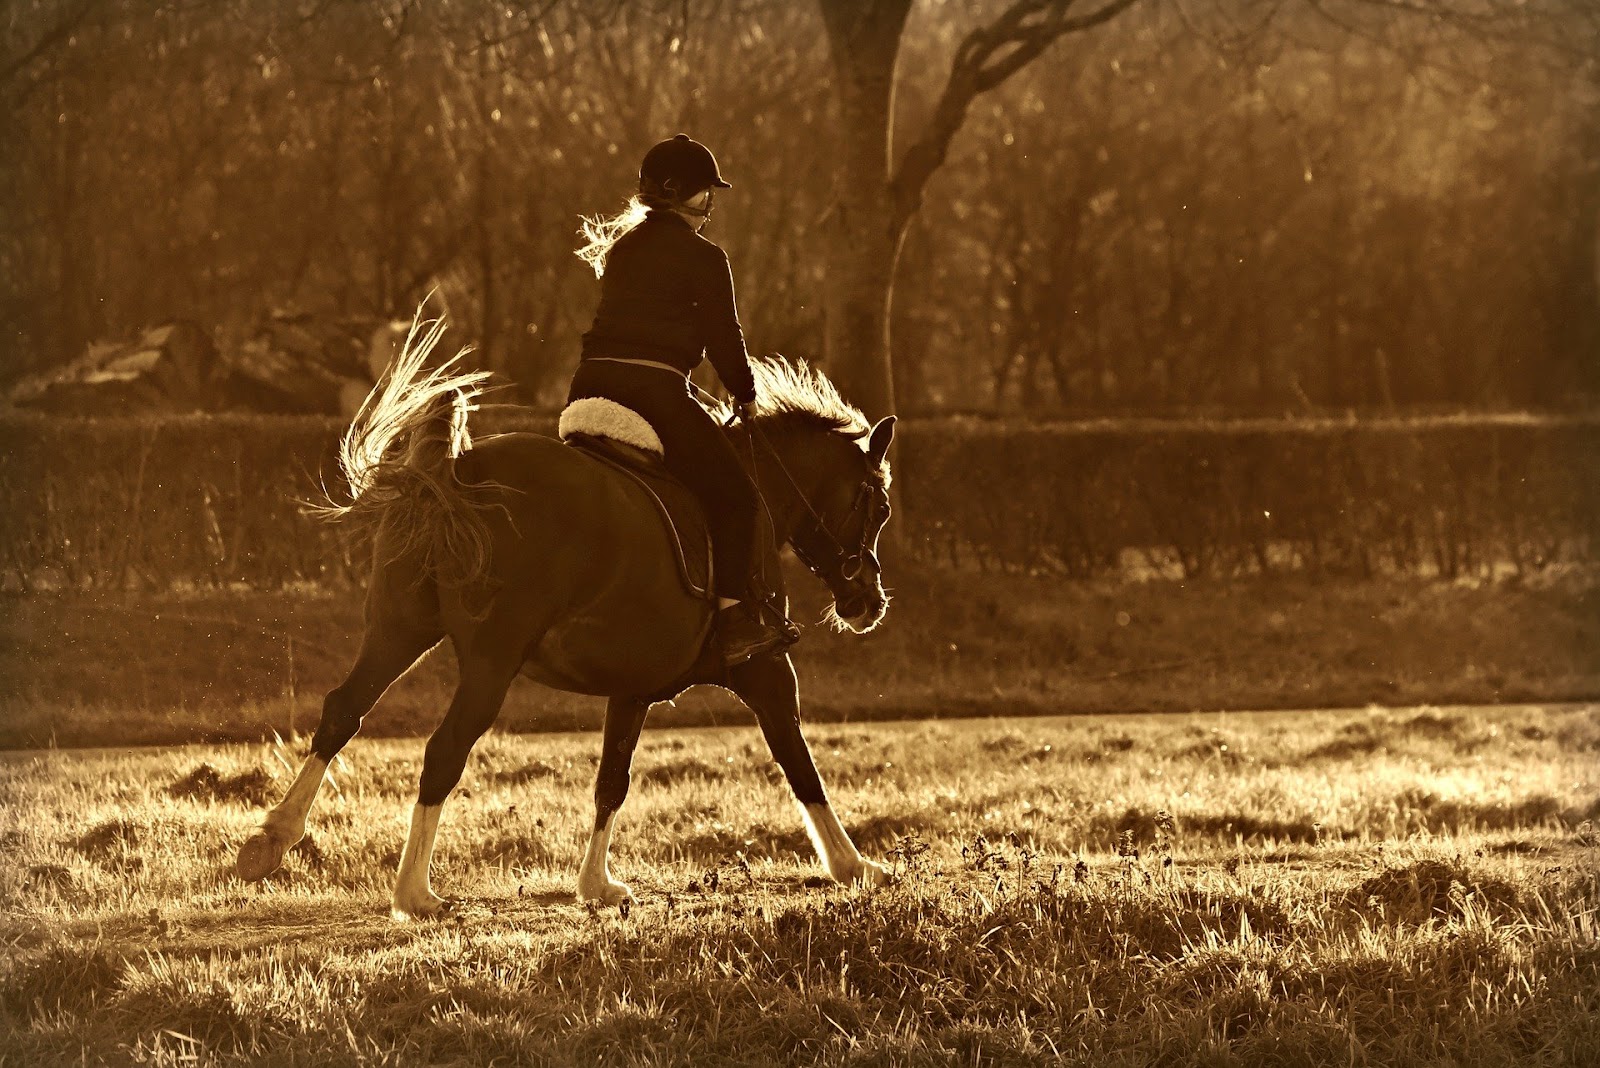
How to Do a Downward Transition
Think of downward transitions as shifting down a gear. Any change in gait to a slower gait, including to the halt, is a downward transition. Downward transitions can also occur within gaits, like from an extended canter to a collected canter.
Canter/ Trot
Start with a controlled canter or a few half halts to get your horse’s attention and prepare his body for the transition. Sit deep and back in the saddle, with increased weight on both seat bones.
To go from canter to trot, the seat stops following the “circular” canter motion, and you can begin posting once you feel the horse begin the transition. The inside legs remain closed at the girth. Your hands gently “hold” the forward motion of the canter instead of “allowing” it, but still allowing the horse to maintain forward momentum in the trot – you don’t want a walk or halt!
Canter/ Walk
Exhale and sit deep, pushing your seat bones into the saddle and following the side-to-side walking movement with your seat and hips. Keep your legs long, straight and supportive to ‘hold’ the horse’s change in momentum, leaning very slightly back to account for the rapid change in speed.
Avoid looking down or pulling hard on the reins. Instead, restrict the rein just enough to slow the forward movement, while still allowing the walk – you don’t want to be too strong and go all the way to a halt.
Canter/ Halt
A canter/halt isn’t a novice transition but is required in upper-level dressage tests (for an overview of the dressage levels, read this!). Make sure both the horse and rider are proficient at canter/walk transitions, first.
Use a few half halts before the transition to slow and collect the horse. Drop your seat and heels, exhale, and engage your abdominals to brace for the rapid deceleration. Your pelvis stops following the canter and you sit up tall and straight and “block” forward movement by restricting the hands, but without leaning backward or pulling.
Trot / Walk
Increase weight evenly in both seat bones by sitting deep in the saddle, engaging your abdominal muscles, and closing the pelvis. Posting stops, and the seatbones start to follow a 4-beat ‘side-to-side’ walking motion. Legs close around the girth but do not squeeze.
The reins ‘close’ just enough to restrict the trot, while still allowing for the forward walking motion. Prepare to keep your leg on just enough for an active walk. Remember to release the pressure as soon as you get the desired gait, otherwise the horse may take a few walk steps and then halt.
Trot / Halt
<p style="box-sizing: inherit; overflow-wrap: break-word; margin: 0px 0px 1rem; padding: 0px; font-size: 20px; line-height: 1.6; text-rendering: optimizelegibility; color: #0a0a0a; font-family: HelveticaNeu


