


How to Get into Show Jumping (Essential Guide)

The hushed awe that falls over a crowd in the tense last seconds of a jump-off… the you-could-hear-a-pin-drop silence after a rubbed rail rocks back and forth, ready to fall… the roar of the crowd after double-clear rounds… show jumping is one of the most popular, exciting, and demanding equine sports. Many riders start their careers with the desire to one day get into show jumping.
While the rules and winners are clear cut, the path to starting show jumping isn’t always so clear.
If you’re wondering how to get into show jumping, this article is for you. So shorten your stirrups and collect your reins; this is a crash course for how to get into showjumping.
Essential Skills for Showjumping Riders
The pros might make it look easy, but successful showjumping is anything but! You’ll need to master the foundational aspects of riding on the flat before you take to the skies, plus a few extra skills unique to the over fences crowd.
Independent Seat
This is the first of many, many skills you’ll borrow from the dressage world, but being secure in the saddle is a prerequisite for perfecting your position out of it.
An independent seat may not sound exciting, but it’ll help your hand position, legs, and overall balance and is an important channel of horse/rider communication. Time spent developing your seat is never wasted.
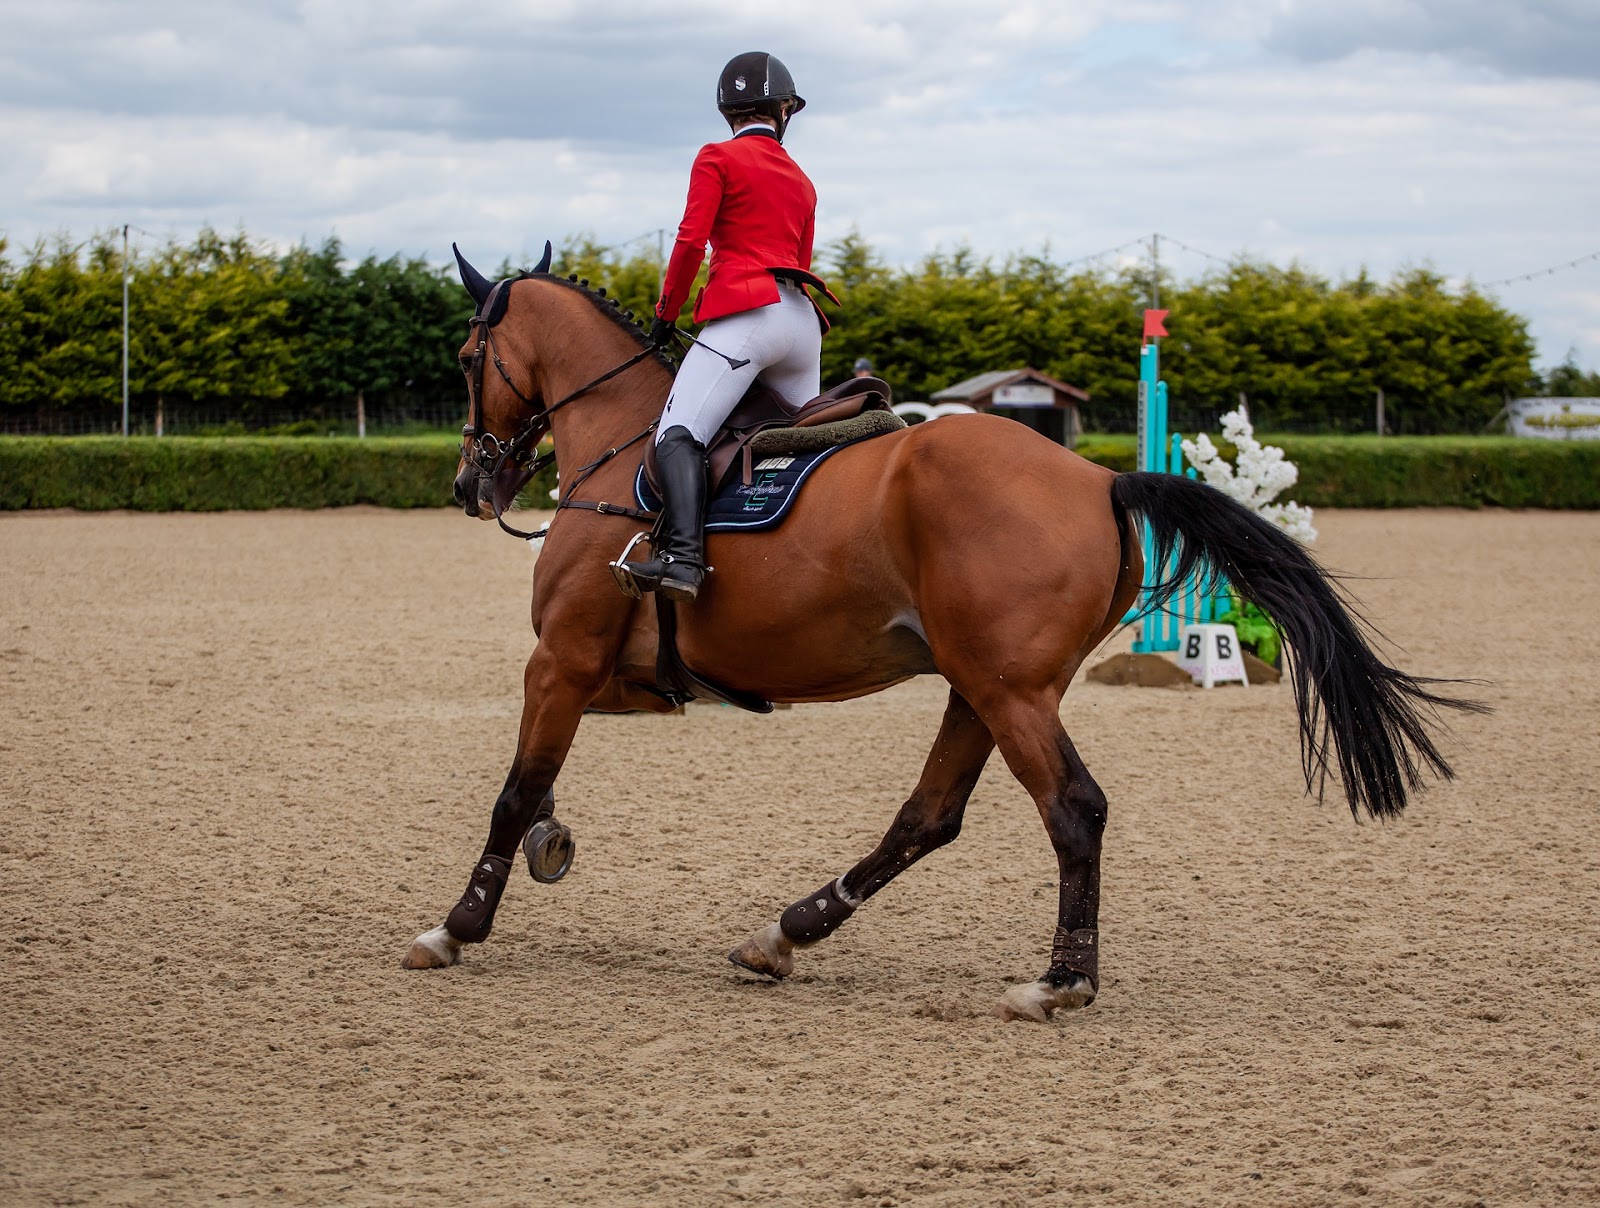
Exercises to try: Ride without reins.
Ride bareback. Check out this great video from Horse Class on becoming a better rider without a saddle.
A quick note about riding bareback – a bareback pad is a great idea to protect your legs from horse sweat and dirt, as well as give your horse a bit more cushion and comfort. To really improve your seat take the stirrups off the bareback pad. While stirrups will make riding easier, relying on them won’t do much to improve your seat.
Correct Lower Leg Position
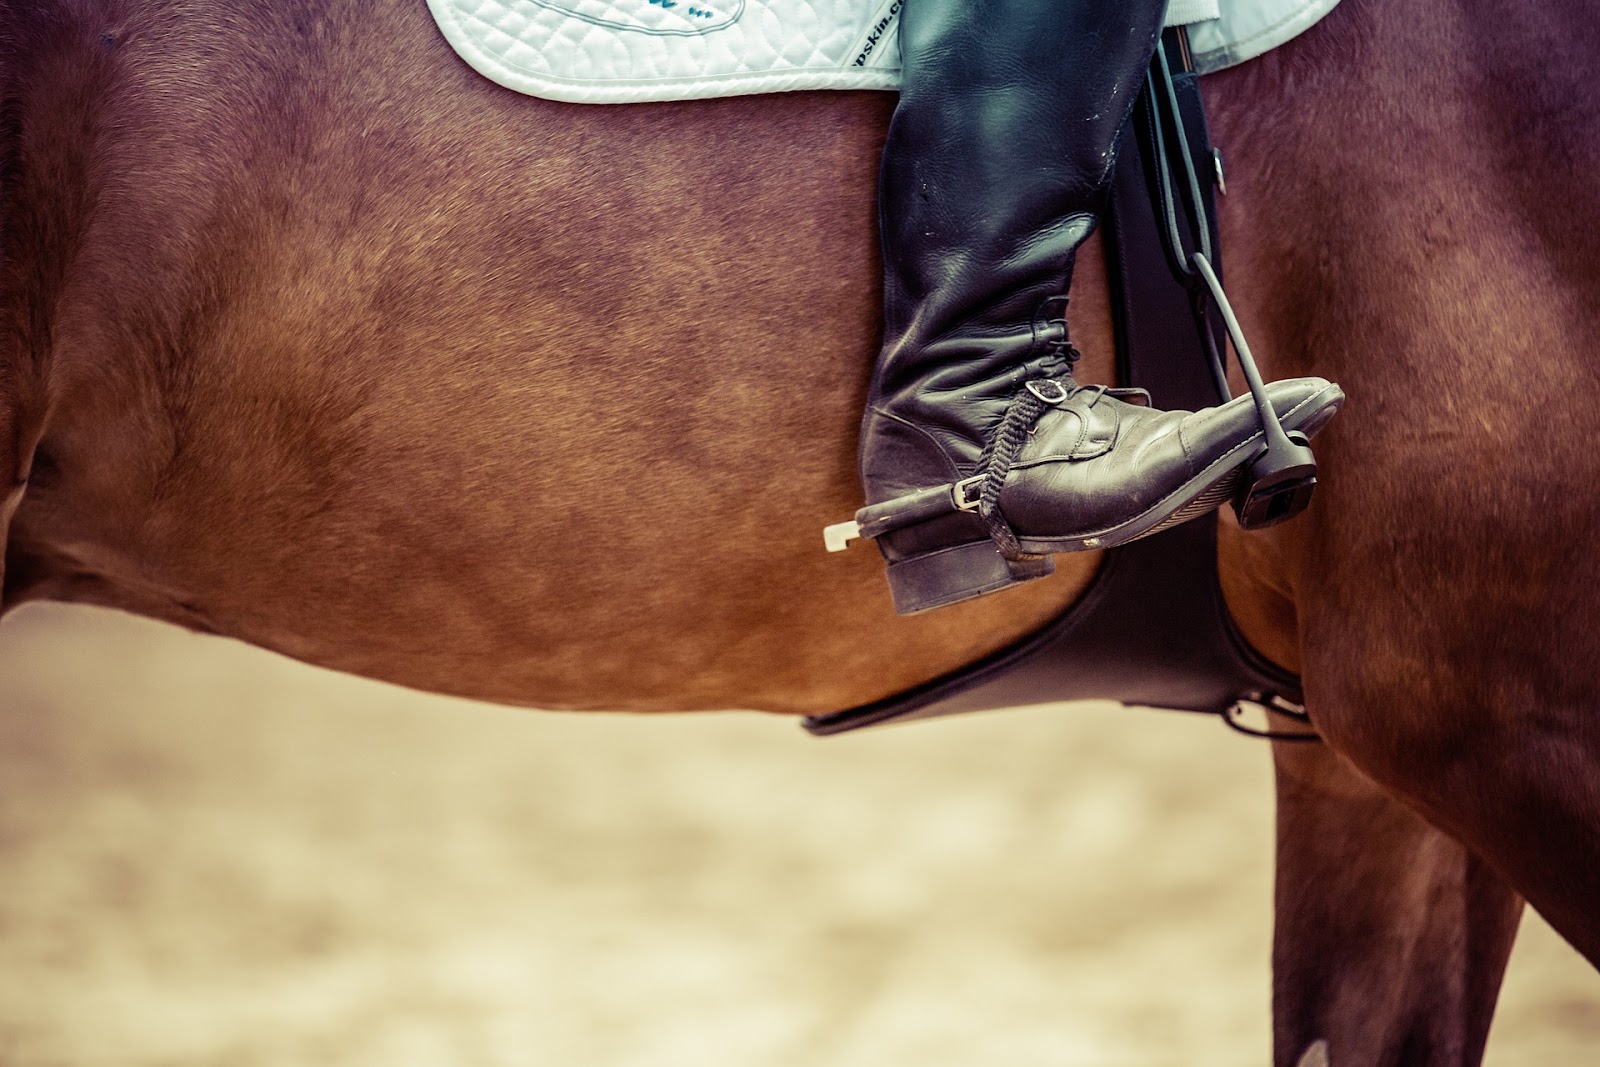
A solid lower leg is important for several reasons: it makes your leg aids clearer, keeps you balanced, and actually helps keep your hands and seat independent of one another.
Developing a good lower leg position isn’t just about knowing where your leg should be, but also about building the muscle strength and memory to keep it there.
If your lower leg creeps forward too much, pop into your 2-point. Then try to keep your leg in the same place when you return to a full seat.
Exercise to try: Trot (posting and sitting) without stirrups, then up the ante and try gymnastics without reins or stirrups.
Following, Independent Hands
Soft, independent hands that follow the movement and maintain elastic contact are integral for keeping the horse straight and keeping you balanced, both on the flat and over fences.
Hard hands, bent wrists, and fixed elbows can all conspire to undermine your hand position and muddy the waters of communication between horse and rider. Further complicating your hand position is that the foundation of good hands is an independent seat, so you may have to develop both in tandem.
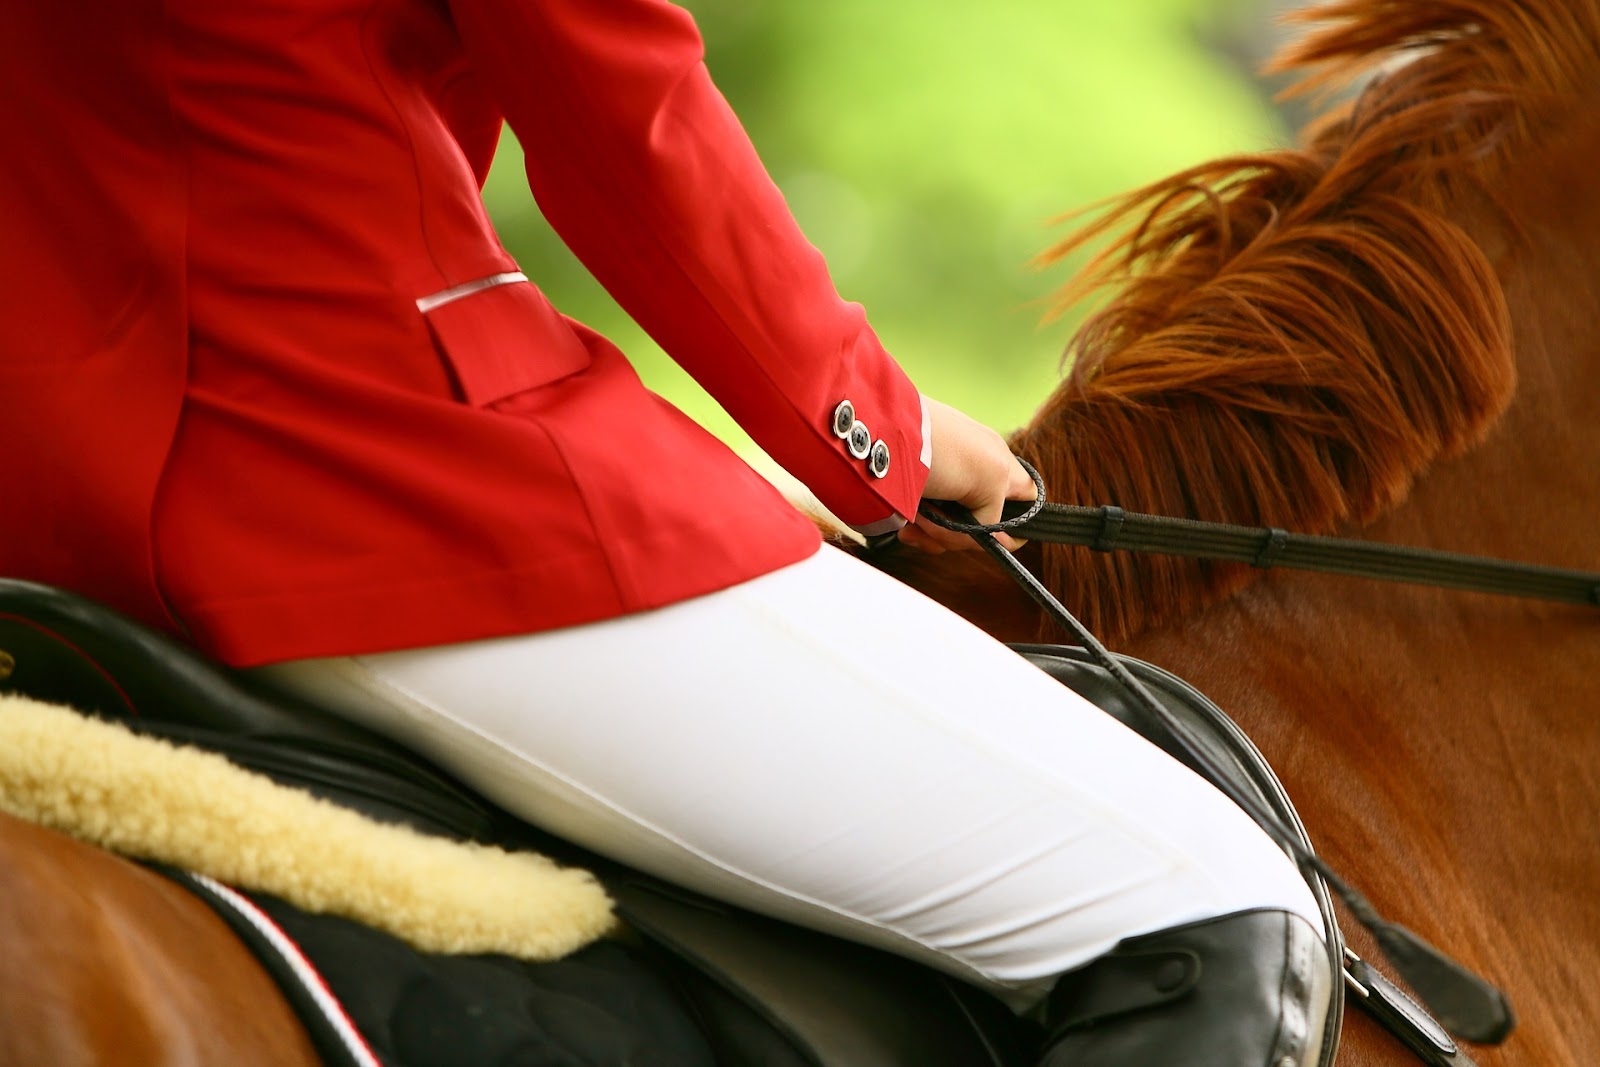
Exercise to try: Loosen your elbows, keep your wrists straight, and check out this FEI article on common equestrian hand problems, and how to fix them.
Try this 5-step framework for developing elastic contact on the flat before tackling jumps.
Collected & Extended Gaits
This is one for both riders and horses, especially at the canter (though you should start at the walk and trot, first).
You’ll need to know how to collect and extend to nail the correct distances between jumps, keep him balanced, and ask for extra speed and impulsion when you need it. And your horse will benefit from the workout and listening to your aids.
Exercises to try: Beginner riders and newbie horses can start working at extension and collection at the walk
To perfect the canter, try these 3 exercises from US Dressage Federation president George Williams
Know (and Swap) Your Leads
You won’t get far if you can only jump in one direction. You’ll need to know what exactly a canter lead is (hint: it’s the leg that strikes out farthest in the 3-beat canter stride), and you’ll need to know when you need to be on the left lead or right lead, and how to change them (a.k.a. a flying lead change).
Bringing it back to trot for a few strides every time you need to change direction will add seconds to your time that you can’t afford, so spend time getting to know your leads and how to swap them.

Exercises to try: Work with a coach to learn when you’re on the correct lead – you’ll soon get a sense for the bumpy, disjointed feeling that accompanies the wrong lead.
Try these exercises to help you strike off on the right lead.
If your horse isn’t accustomed to flying lead changes, try these 6 exercises to introduce lead changes.
Jumping Positions You’ll Need to Know
A good jumping position is formed over time with practice, repetition, and effort. A good coach will guide you through what skills you need to learn and when. But with that said, here are a few key positions you’ll need to be familiar with and some exercises to help you practice them.
A caveat before we begin – it takes more time and effort to un-learn a bad habit than it does to learn correctly in the first place. Working with an experienced coach is always advisable, especially when it comes to jumping.
But if you don’t have regular access to a coach, here are a few options to keep you on the right track:
-find an experienced friend or a fellow equestrian who can point out any major faults.
-record your riding sessions. Ideally, have a friend film for you (and make sure to repay the favor), or you can set up your phone or a GoPro and hit record. Review your rides afterward to see where you can improve.
Bonus: If you can’t get a jumping coach to your barn, you may be able to send her your videos for critique instead. You’ll still have to pay for her time and expertise, of course, but you’ll be able to access coaches out of your area.
Two-Point Jumping Position
Two-point is the foundational jumping position. You may also hear it referred to as ‘half seat,’‘forward seat, or ‘jumping position.’ Whatever you call it, it’s one of the essential skills you’ll need to master as an aspiring showjumper.
The purpose of two-point is two-fold: first, it gets you off the horse’s back, allowing him more freedom of movement. Secondly, it moves your weight up and forward, allowing you to match his jumping effort.
Two-point involves lifting your seat out of the saddle, closing your hip angle to about 30 degrees (note that you’ll bend at your hips, not your back), and then balancing your weight over your legs while keeping your hips in line with your heels. You’ll keep your head up and chest out, knees and ankles supple, and move your hands up the neck for a crest release.
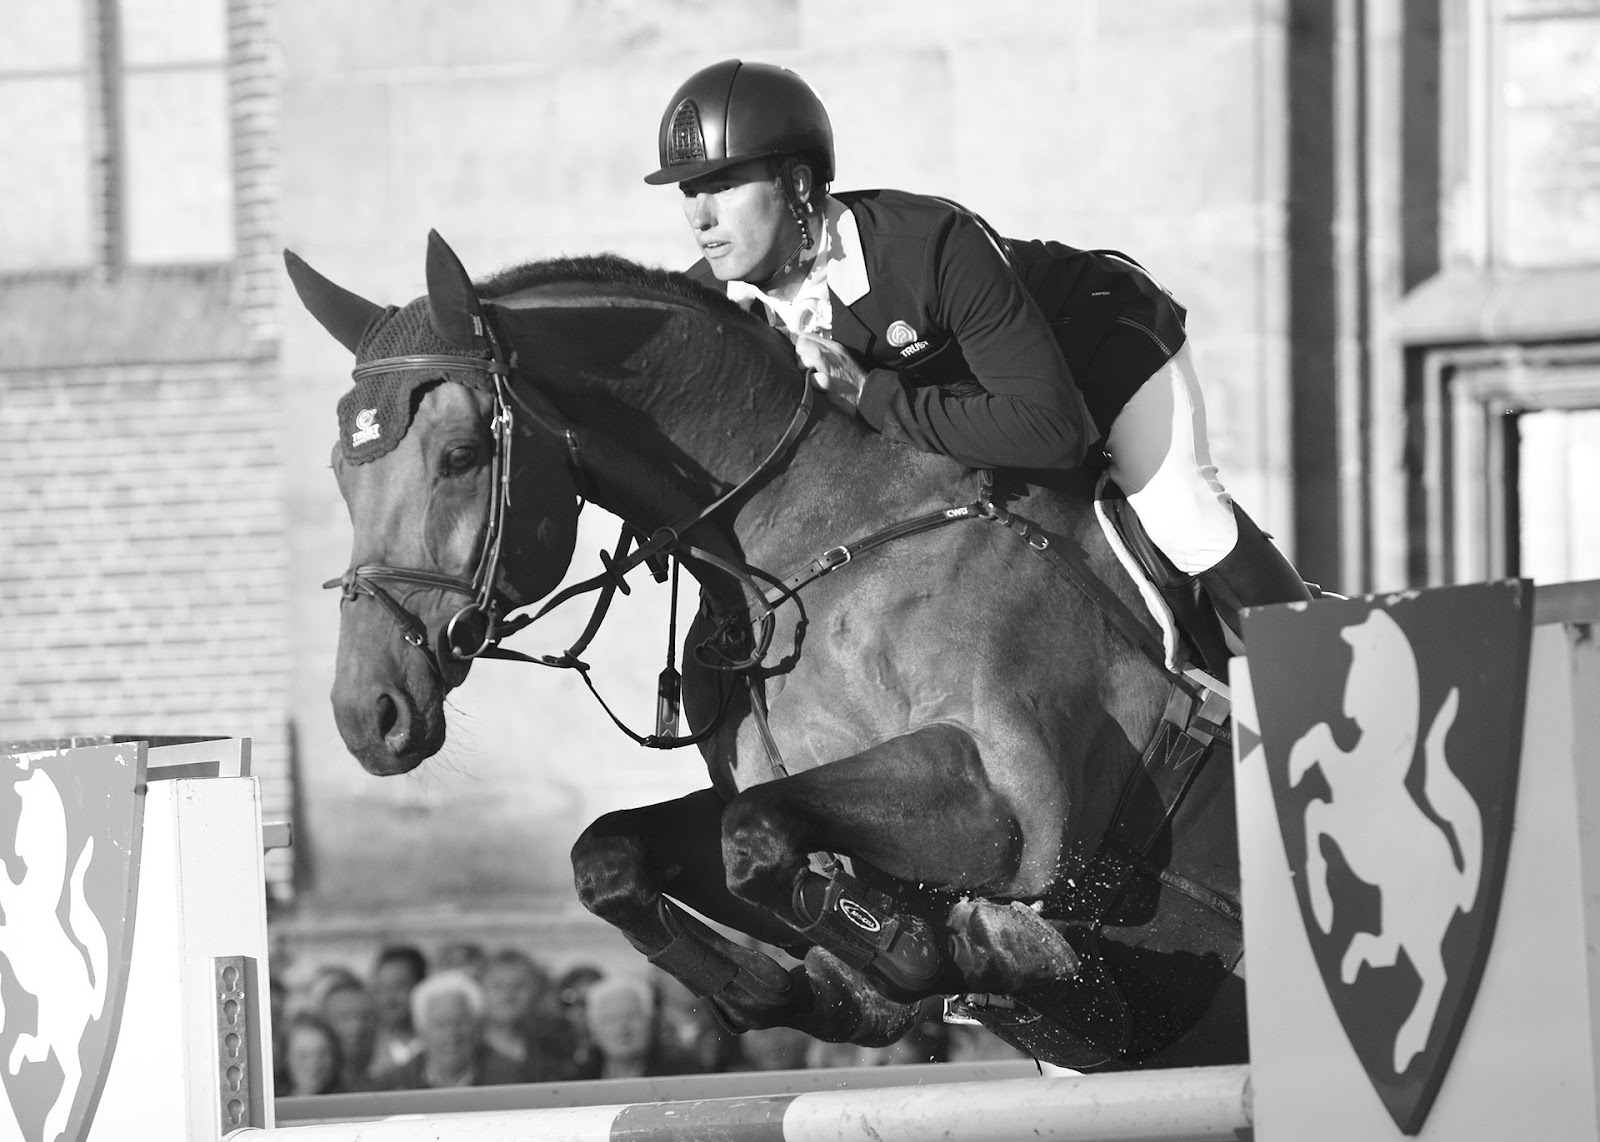
The goal is that you ultimately won’t need to use the horse’s neck for balance. But when you’re starting out, it’s much better to balance on his neck than risk balancing on his mouth. Don’t be afraid to press your hands into his neck for balance when you’re getting started, but continue to work on your own physical conditioning so that you can balance independently of his neck.
Exercises to try: Two-point can be a real workout! Try these at-home exercises from equestrian athlete trainer Matt Luxton to work on your strength and fitness, which will improve your two-point (and just about every other aspect of your riding, as well)
For in saddle exercises, check out this extensive Horse Journal article from competition coach Sarah Mellings.
Or this winning two-point advice from pro coach Robin Peterson.
The best way to perfect your two-point is practice, practice, practice! Make it a regular part of your warm-up routine and challenge yourself to hold a correct two-point for longer and longer periods of time. Once you understand the position, successful two-point is usually just a matter of rider fitness.

Crest Release
<strong style